Integration Setup
To integrate your Amazon SES account with Siren, follow these steps:Fill in Account Details
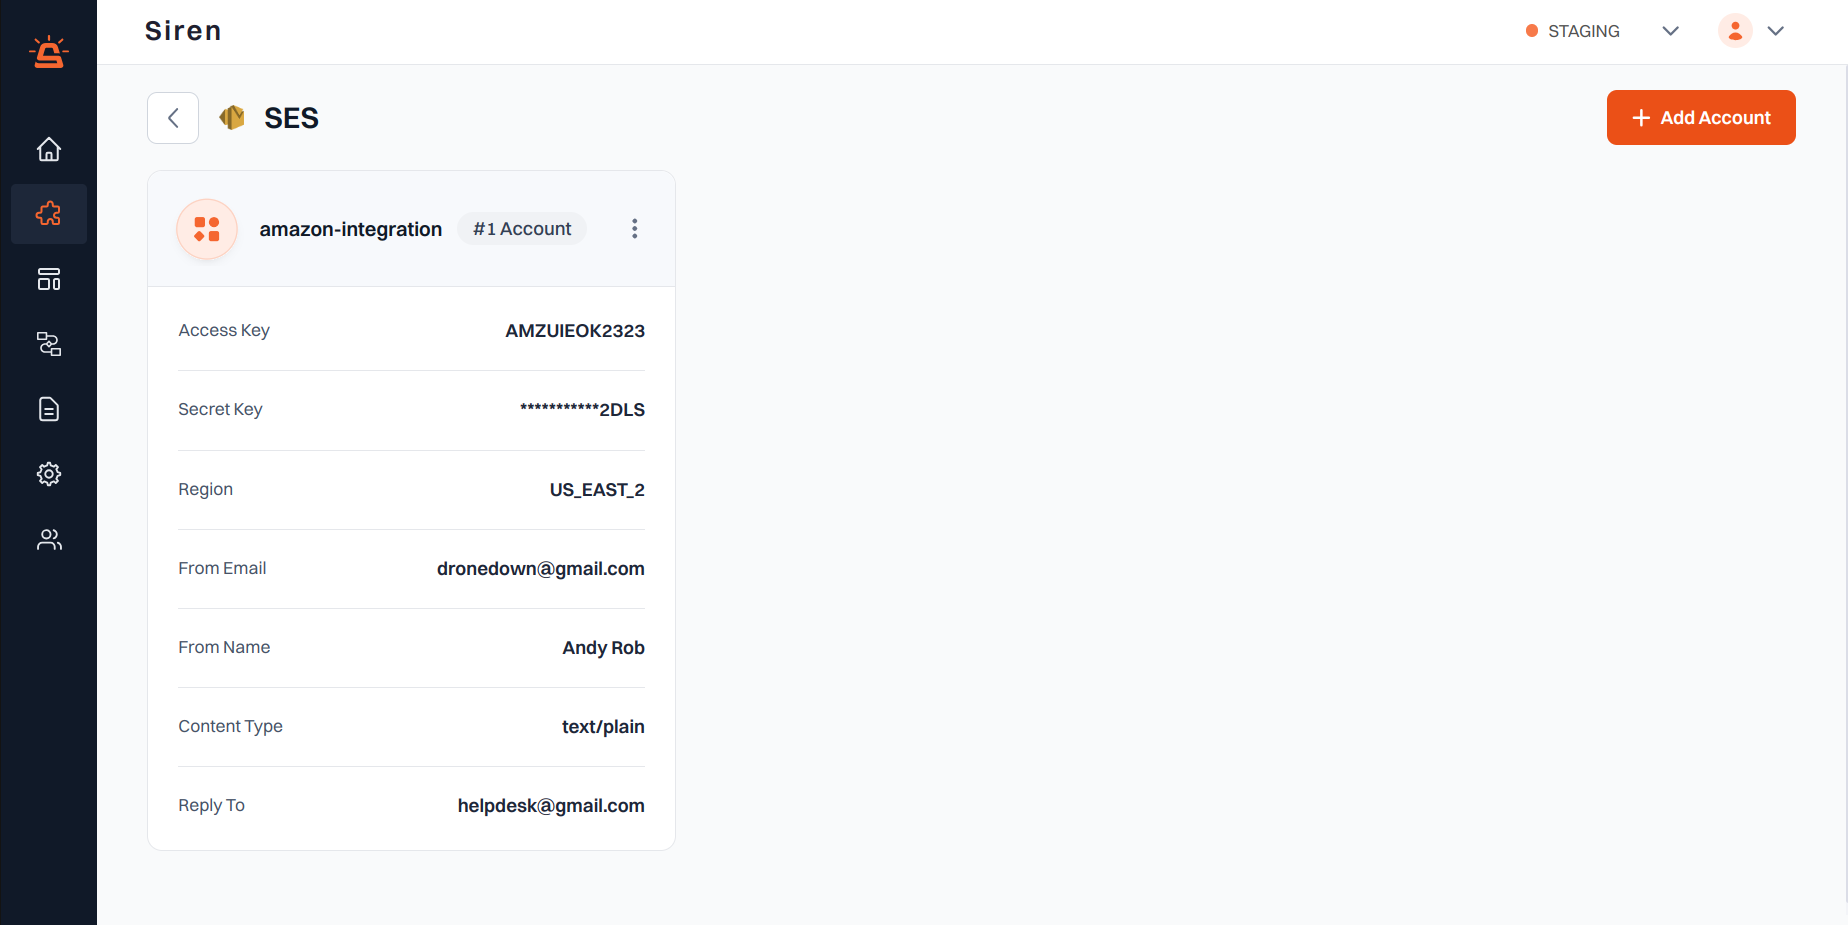
In the pop-up window, enter the following details:
- Custom Name: Provide a name for easy identification within Siren’s interface.
- Access Key: Log into your Amazon AWS account and navigate to Security Credentials under your account menu. Find Access Keys and enter the details.
- Secret Key: Retrieve this from the same location as the Access Key.
- Region: Find the region in your Amazon AWS account, either in the browser URL or by selecting it from the drop-down next to your username in the AWS console.
- From Email: Enter the email address from which emails will be sent. This must be an email ID with a domain registered with Amazon SES.
- From Name: Enter the name to be displayed in the From line.
- Reply To (Optional): Enter an alternate email ID for recipients to reply to. This can be different from the “From” email ID.
- Content Type: Choose between Text/Plain or Text/HTML based on your email content format.