Email
Mailchimp Integration
Step-by-step guide to integrate Mailchimp Transactional Email with Siren
Mailchimp Integration
Prerequisite: Ensure you have an account already set up in Mailchimp.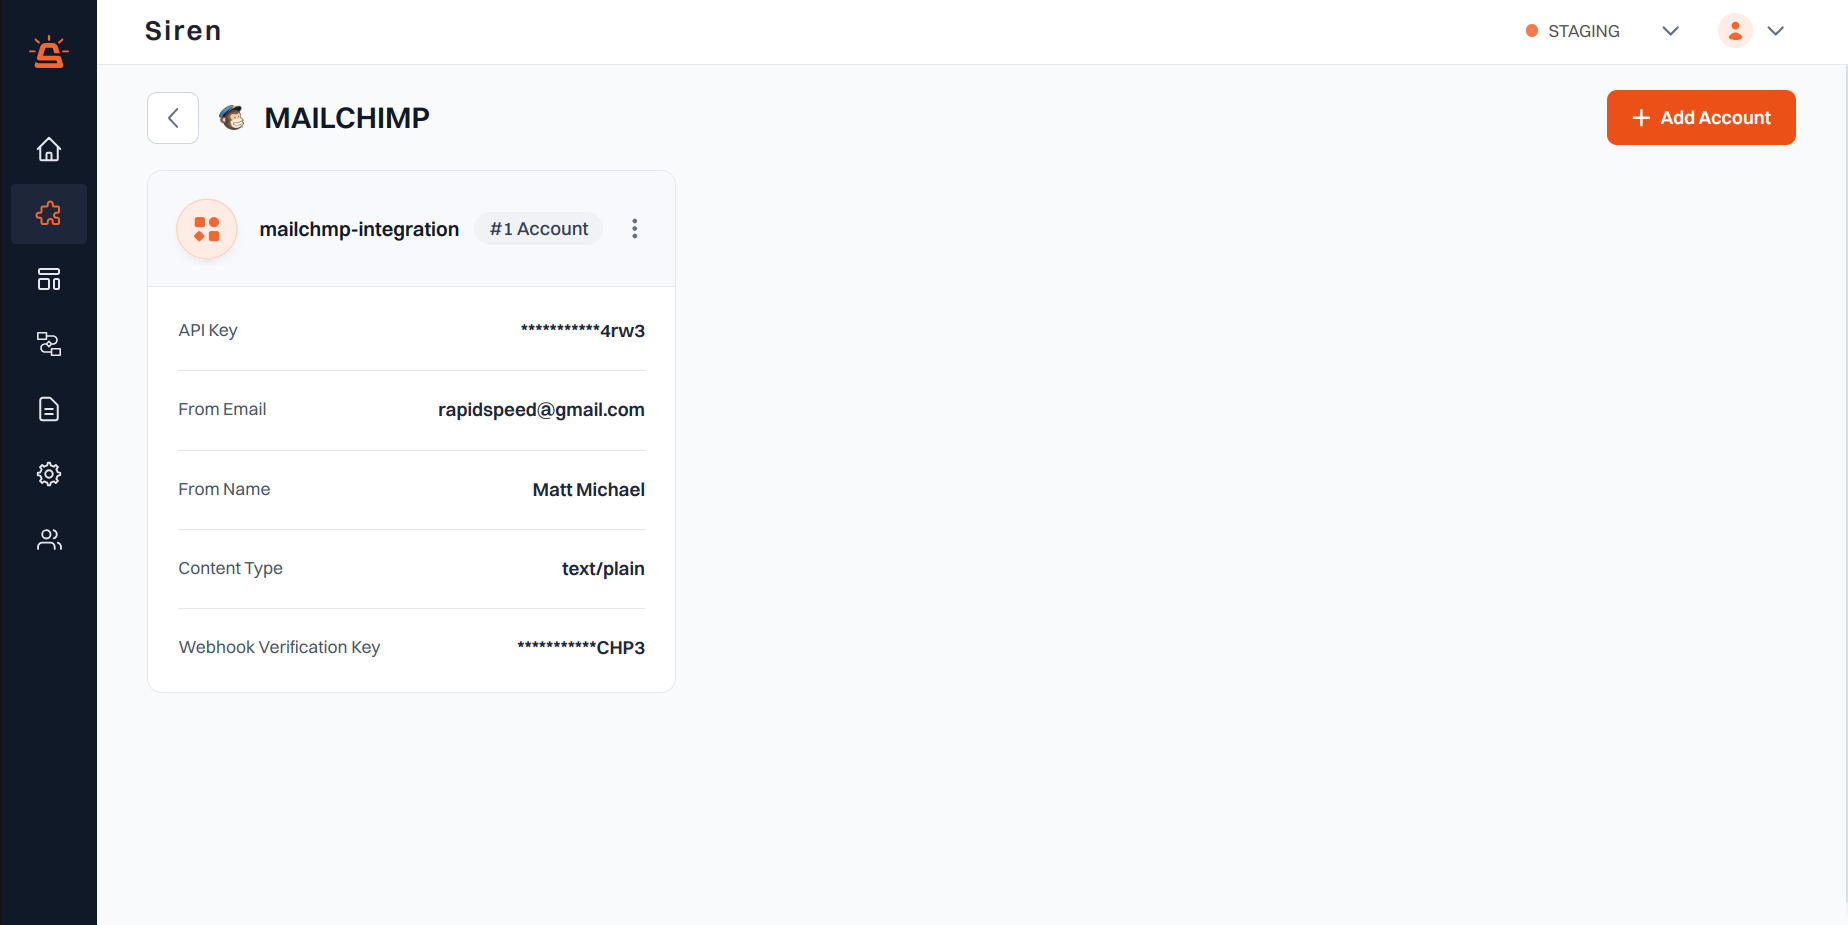
Integration Setup
To integrate your Mailchimp account with Siren, follow these steps:- Access Providers: Navigate to the Providers section in your Siren dashboard.
- Select Email Channel: Choose the Email channel from the list of available options.
- Choose Mailchimp: Locate Mailchimp in the list of providers and click on Add Account.
- Enter Account Details: A pop-up window will appear. Fill in the required information:
- Custom Name: Assign a name for easy identification within Siren’s interface.
- API Key:
- Log in to your Mailchimp account and generate an API Key.
- Navigate to the Transactional email tab and click on the Launch App button.
- From the left navigation pane, click on Settings, then find the API Keys section and create a new API Key.
- From Email: Enter the email address you want to use as the sender.
- Ensure this email ID is whitelisted in the Domains section of Mailchimp.
- From Name: Enter the name associated with the sender’s signature entered in the “From Email” field.
- Content Type: Choose between Text/Plain or Text/HTML based on your email content format.
- Webhook Verification Key: Enter the webhook signing key for your configured webhook URL.
- Save Configuration: Once you’ve entered all required details, click on Save to save your configuration.