> ## Documentation Index
> Fetch the complete documentation index at: https://docs.trysiren.io/llms.txt
> Use this file to discover all available pages before exploring further.
# Wait Node
The **Wait Node** lets you pause the workflow before proceeding to the next step. This is useful when you want to introduce a delay or wait until a specific date and time before sending a message or continuing the flow.
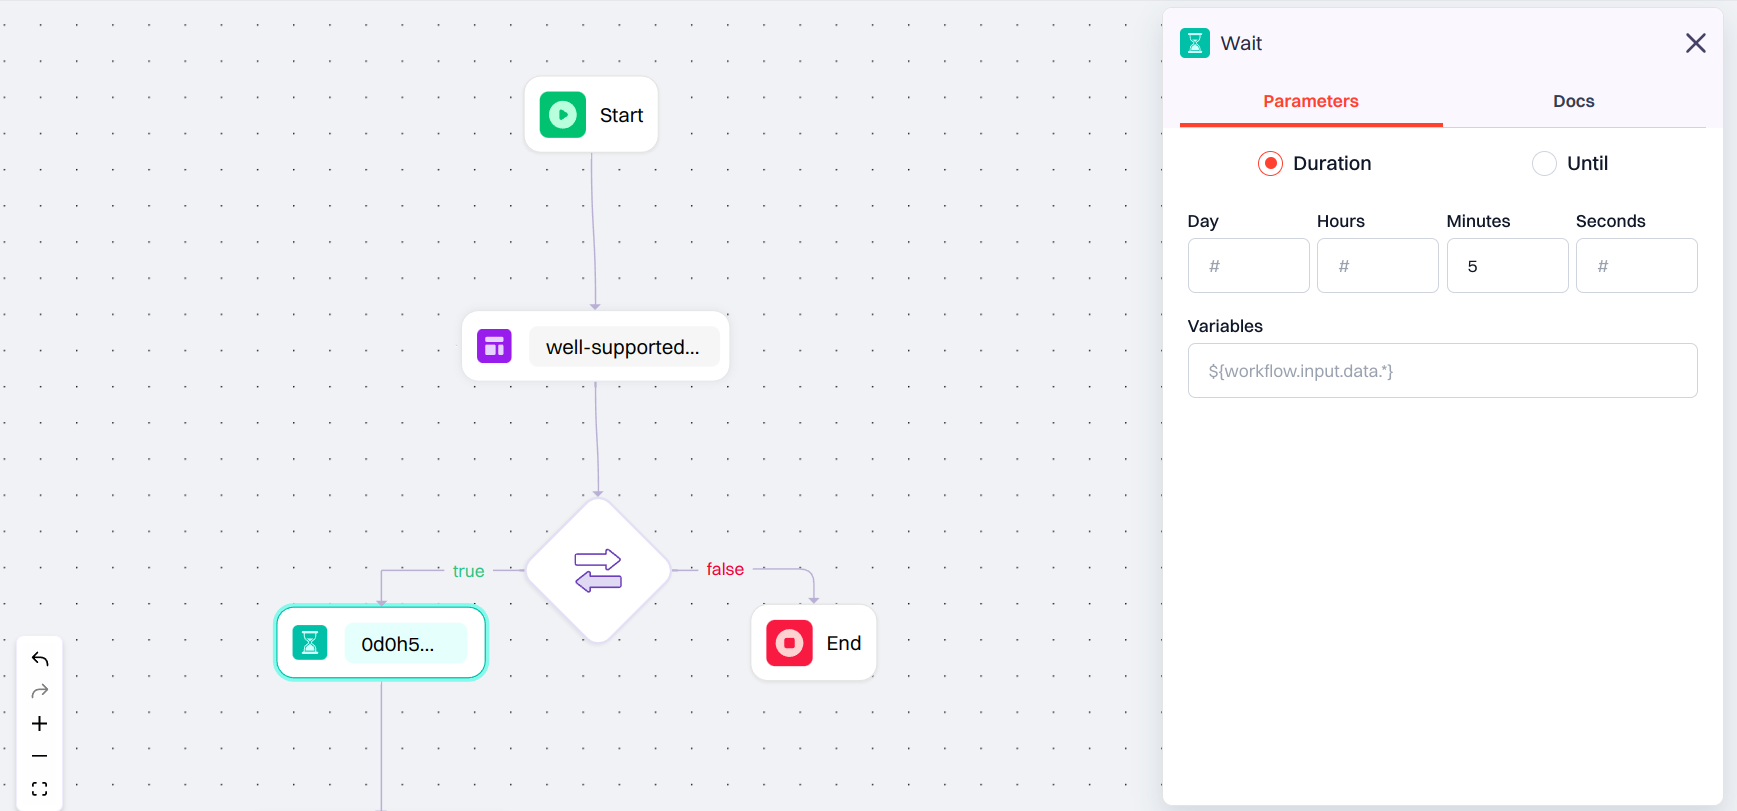
When you click on the Wait Node, a configuration panel appears with a **Parameters** tab. Here, you can choose how the wait should be defined:
 ### Configuration Options
* **Duration:** Set a fixed delay using:
* **Days**
* **Hours**
* **Minutes**
* **Seconds**
This option is ideal for introducing consistent gaps between workflow steps.
* **Until:** Define a specific **date and time** when the workflow should resume.
* Select a **Time Zone** to align the timing with the recipient’s or system’s locale.
### Advanced Workflow Configuration
In **Advanced workflows**, an extra field appears below the static options:
* **Wait Variable**: A field to enter a dynamic wait value using a JSON path.
* Example: `${workflow.input.data.time}`
This allows the wait duration to be determined at runtime, based on input data.
If you use a **Wait Variable**, it will override whatever you set in Duration or Until. Just make sure the variable returns a valid time value like a number in seconds or a proper date/time. so the workflow knows how long to wait.
### Configuration Options
* **Duration:** Set a fixed delay using:
* **Days**
* **Hours**
* **Minutes**
* **Seconds**
This option is ideal for introducing consistent gaps between workflow steps.
* **Until:** Define a specific **date and time** when the workflow should resume.
* Select a **Time Zone** to align the timing with the recipient’s or system’s locale.
### Advanced Workflow Configuration
In **Advanced workflows**, an extra field appears below the static options:
* **Wait Variable**: A field to enter a dynamic wait value using a JSON path.
* Example: `${workflow.input.data.time}`
This allows the wait duration to be determined at runtime, based on input data.
If you use a **Wait Variable**, it will override whatever you set in Duration or Until. Just make sure the variable returns a valid time value like a number in seconds or a proper date/time. so the workflow knows how long to wait.